![[ClodPi Labs] Discussion and support forum](https://discuss.clodpi.io/uploads/default/original/1X/6046bbcd89d9c9db3896c6cd7b77c593de8d6386.png)
ClodPi Pro Hotspot – Indoor - Getting Started
Let us start with ClodPi’s Pro Hotspot - Indoor - device setup:
Prerequisite:
User should be ready with these basic things:
-
Uninterrupted power supply
-
Uninterrupted internet connection with minimum 10 mbps speed.
-
An identified place where Line of Sight is clear, near to power mains.
-
Avoid locations - like basements, closed rooms, inside cabinets, where strength of the signal can become weak.
-
A compatible smart mobile phone (Android / iOS) with an internet connection.
-
Download Helium Application from Apple Store or the Google Play Store depending on your phone OS.
Note: creation of Helium Profile and Helium wallet is explained in the link provided at the end of this document. -
Download Helium Wallet Application. Refer User Manuals / Guides for Helium Wallet App.
-
A good quality ethernet cable (cat5e or cat6) to connect hotspot device with router.
Contents:
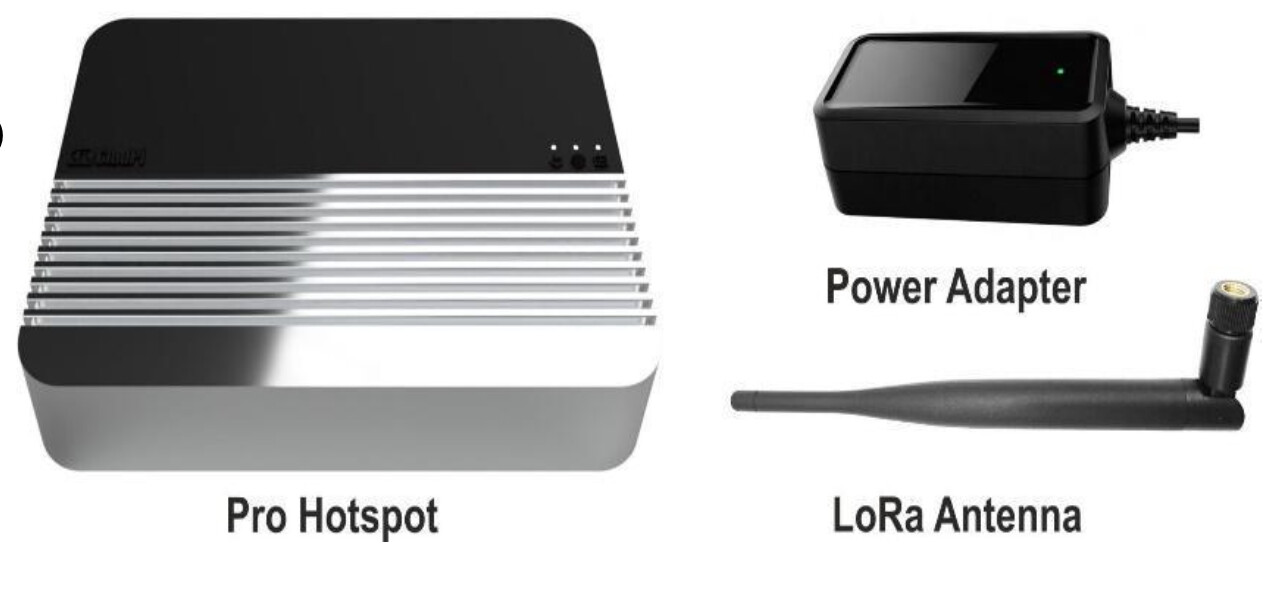
Pro Hotspot package includes the following items:
Note: The images shown are for depiction purposes – actual color may slightly vary. |
Safety Instructions:
User should be careful when setting up the device as the device is meant to be used indoors and strictly follow the user guide and safety instructions to avail the Warranty:
- Make sure the antenna is connected to the device before switching ON the power supply.
- Do not install the device in outdoor / semi-outdoor as it will have risks contact with external forces like rain water, moisture, lightning which may cause irreparable damage to it.
- Avoid placing the Indoor device in a direct open environment (Sunlight / Rain), hot surface.
- Avoid strictly risk of fluids [water, beverages, etc] dropping / falling on the device as it may seep into the device enclosure and cause damage.
- Use of any third party accessories [outdoor enclosure, power supply, custom antenna, splitters, amplifiers] other than the stock items provided by default with the device by ClodPi Labs will be at the user’s discretion.
Steps to setup the device
|
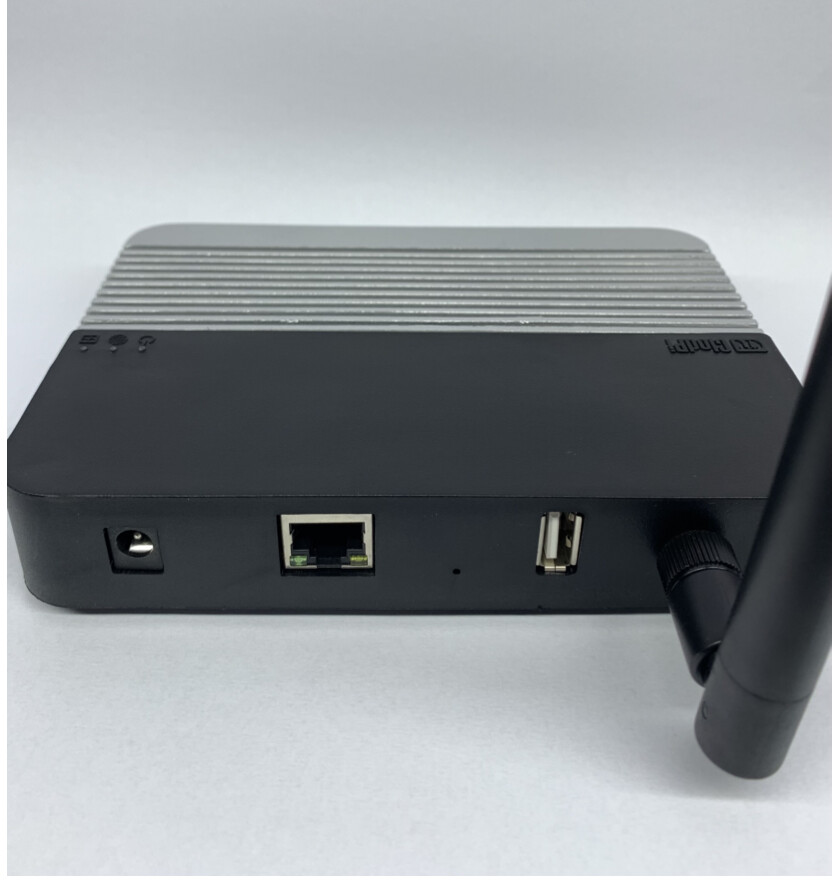
Step 1: Antenna: First, take the Antenna and screw it onto the SMA connector slot provided for the antenna. It should look like the picture. |
|
|
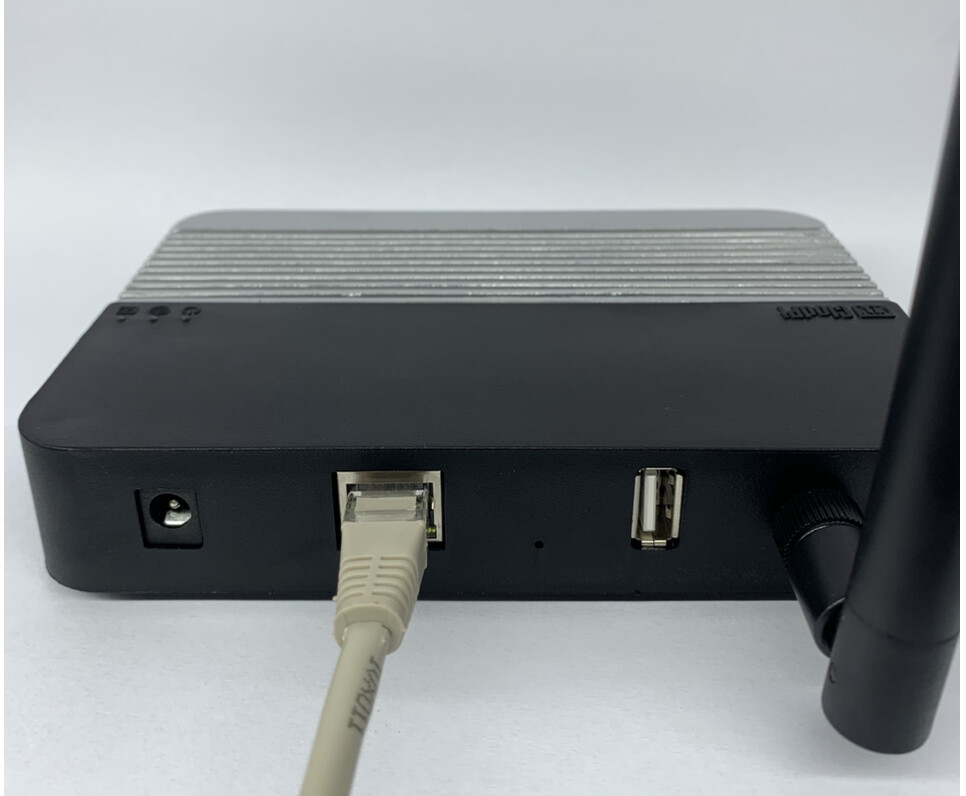
Step 2: Location: Place the device where it gets clear Line of Sight like your window where there is no obstruction to the network signal and no direct sunlight is reaching. Make sure the power main is not too far. Step 3: Ethernet connection: For wired ethernet connection, you need an ethernet cable to connect the router / switch and the Ethernet connector jack located at the back side of the Pro Hotspot device. |
|
|
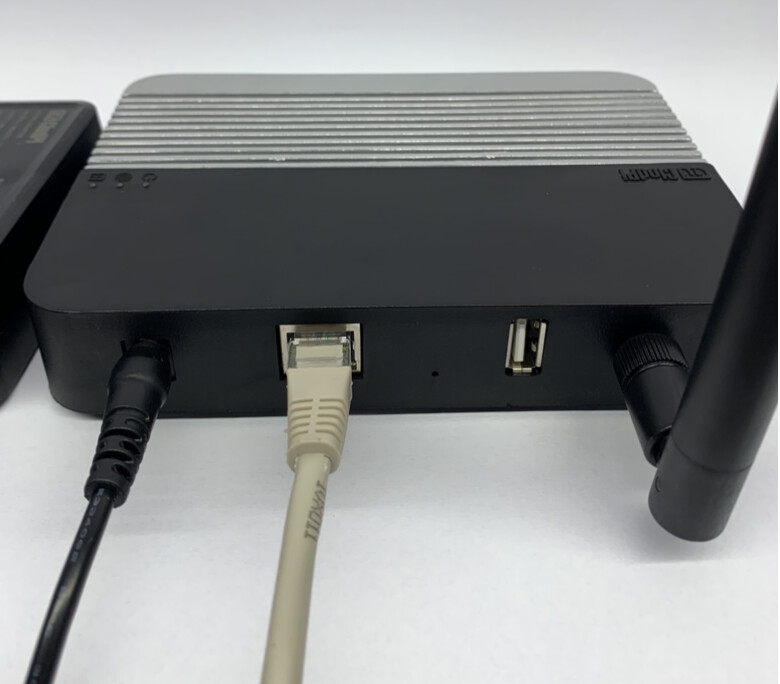
Step 4: Power: Take the 12V power adapter and plug it into the mains Connect the adapter’s DC Jack into the power jack located at the back side of the Pro Hotspot device. Now, switch ON the power mains. Note: DO NOT switch ON the mains unless Ethernet wire is connected to the device. |
|
|
Step 5: Power ON LED of the available three on top side of the device should lit immediately when Power is switched ON. This will start the first booting of the device. |
|
|
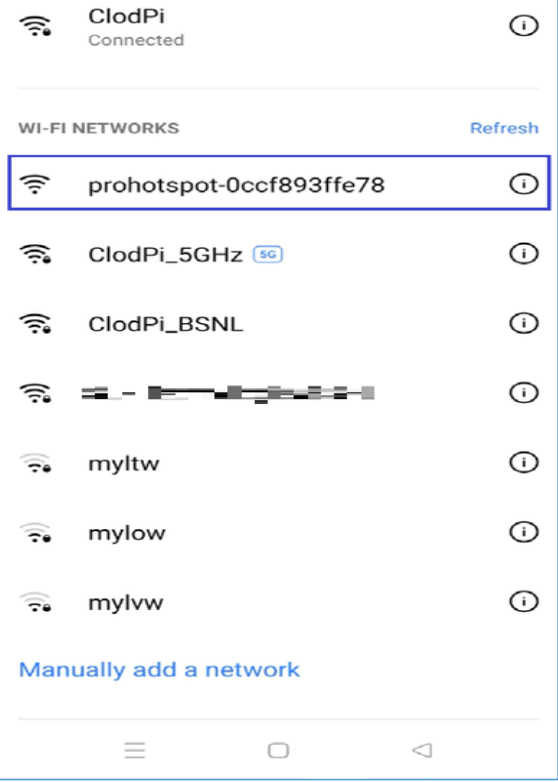
Step 6: When the first boot process is complete, the Internet LED of the available three on top side of the device should also be lit. This may take 2 to 3 minutes. Once the internet LED is lit, you can check the ClodPi Pro Hotspot WiFi option is available in your smartphone > WiFi > Select “ClodPi ProHotspot” option. |
|
|
Follow the below steps to connect your phone with ClodPi’s ProHotspot Wifi: Step 7: On your smartphone > Settings > Connections > Wi-Fi |
|
|
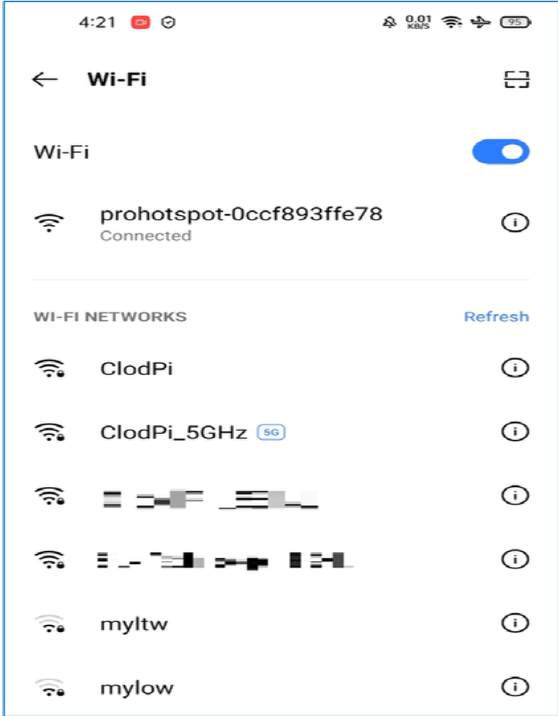
Step 9: Allow the smartphone to connect the ProHotspot WiFi. This makes sure that your device WiFi is working and connected with your smartphone. |


Steps to onboard Helium Hotspot to Blockchain:
Refer User Manuals / Guides for ClodPi Labs - Hotspots Onboarding Steps to Activate and Configure your Hotspots.
SUPPORT PROCESS: Click here